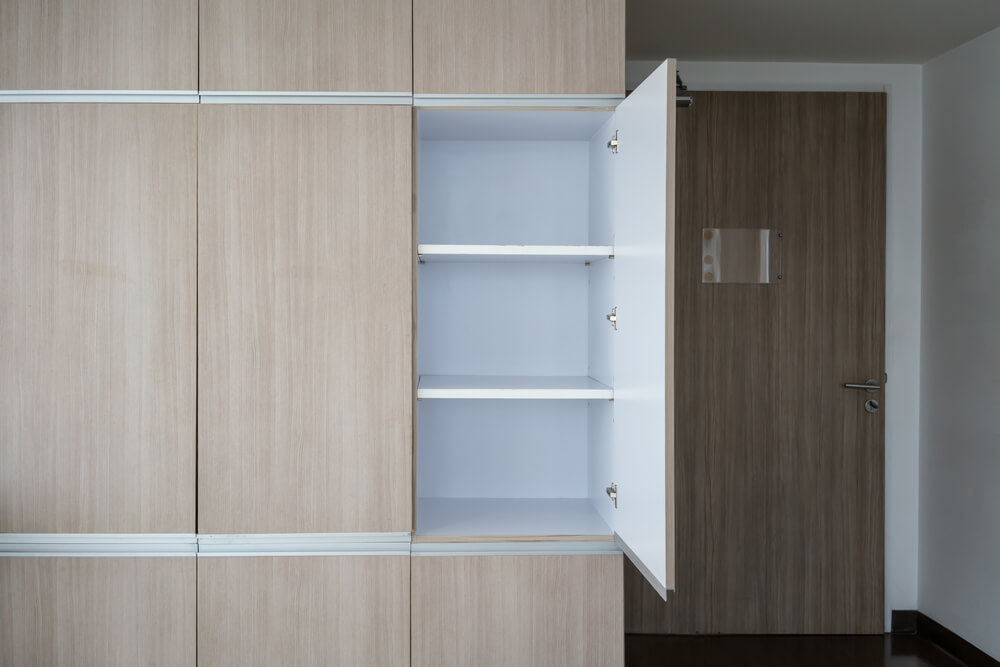
How to: Hinged Fitted Wardrobe Doors to Sliding Fitted Wardrobe Doors
You can make a hinged fitted wardrobe door into a sliding fitted wardrobe door pretty similarly to the way you would with any door. You’re going to need power tools and things like that in order to accomplish it, but according to James Kilner Fitted Wardrobes & Bedrooms, a fitted wardrobes builder, it’s a pretty easy task if you know what you’re doing.
Now obviously the easiest way to get this done is to hire a contractor to do it for you, but doing it yourself is typically cheaper and in the long run can end up being faster as well. Tools and materials listed by Hunker include a pry bar, hammer, measuring tape, purchased door frame, nails and screws, level, shims if needed, a sliding door hardware kit (track, door rollers and brackets), circular saw, amd a spirit level.
Ensuring that you have the proper tools and materials is always extremely important when it comes to any renovation or remodeling project. If you are unsure what any of these tools are, you can ask your local hardware store and they should be able to give you an explanation.
As important as materials and tools are, your level of practice and experience is equally as important. Do not forget that if you don’t know how to use any of these tools or you’ve never done a renovation project similar to this one, you can purchase extra materials and practice with it until you feel comfortable that you won’t accidentally harm your fitted wardrobe.
Removing the Hinged Fitted Wardrobe Door
Removing the door depends on what type of hinges your wardrobe has. I’m going to walk you through the removal of one type of hinges, inset hinges, this is because most hinges are similar in the way that they are removed and this type of hinge removal method is essentially universal.
According to DoItYourself.com, the materials you will need to remove the inset hinges are a drill or screwdriver, wood chisel or small sander, glue remover or adhesive looser gel, a container in which to put the screws you remove, and a hammer. There are several types of inset door hinges; however, they are essentially the same in the removal process, so that is the reason they are all grouped into this one section.
The first step in removing inset hinges is to look for glue. Glue is often used around hinges in order to provide extra support. If you find glue, remove it with the adhesive remover, which could take a short or long period of time to work depending on the remover you have.
Now it’s time to remove the screws. Remove the screws in the bottom hinges first and always begin with the screws holding the door on. You could use a screwdriver or a drill. A drill is typically are faster and involves less work; however, this decision is a matter of personal preference so long as it matches the screws.
After you have removed the glue and the screws, you can safely and easily remove the hinge with with your hands. Now you have completed the pretty simple process of removing your hinged fitted wardrobe door.
Replacing the Hinged Door with the Sliding Door on Your Fitted Wardrobe
Installing the sliding door on the fitted wardrobe is the more complicated part. It is much easier to remove a door than to install one. But not to worry, it is a fairly easy process, although it is rather time consuming.
First, you want to measure your door and ensure that the hardware kit you purchased is the proper one for your door. This is important because without the hardware kit, your fitted wardrobe will not have a sliding door, as the hardware kit contains crucial supplies for your renovation.
Once you are sure you have the correct supplies, you can proceed with the installation. Next, you will need to check for a trim on the door. If there is a trim on the door, you will need to remove it and add the measurements of it to the thickness of the track you will be needing. Most wardrobes do not come with trim, however.
After checking for trim and taking the necessary steps if there is trim, then you can begin to measure your door in relation to your opening. You will need to mark the measurements of the opening on the door and cut the door along this mark with a circular saw. This is to ensure that your door now fits into the opening.
Using the manufacturer instructions from the hardware kit, screw the top track into the top of the door frame. Then you will need to screw the rollers and the brackets into place. Do the same on the bottom using the hardware kit’s manufacturer instructions and place your door into the tracks.

